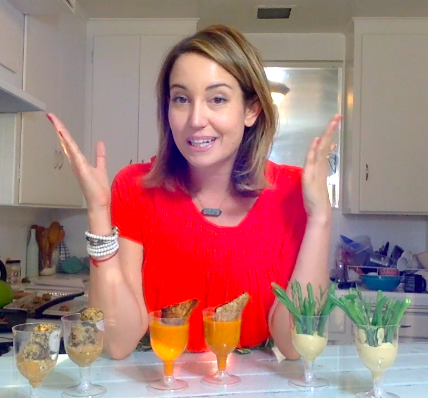
Thanks for joining me this AM on KTLA, I hope you enjoyed hearing about these fresh, healthy takes on classic BBQ dishes and are inspired to get into the kitchen. Enjoy the recipes below and don’t forget to check out my book “Eat with Intention” for all these recipes and more, including tips on loving and communicating with your body and more delicious recipes paired with mindful tips and meditations.
Watermelon Gazpacho
Yield: 4 servings
INGREDIENTS
2 cups chopped watermelon
2 red bell peppers, seeded and roughly chopped
1 green apple, peeled and roughly chopped, divided
1 cucumber, peeled and roughly chopped, divided
½ white onion, diced
¼ cup extra-virgin olive oil
2 tablespoons balsamic vinegar
2 tablespoons finely chopped fresh mint, divided
1.In a blender or food processor, combine the watermelon, bell peppers, half the apple, half the cucumber, and onion. Add the olive oil, balsamic vinegar, and 1 tablespoon chopped mint and purée until thick and smooth.
2. Pour the gazpacho into serving bowls and stir in the remaining apple and cucumber. Sprinkle over the remaining 1 tablespoon mint. Chill before serving!
.
.
.
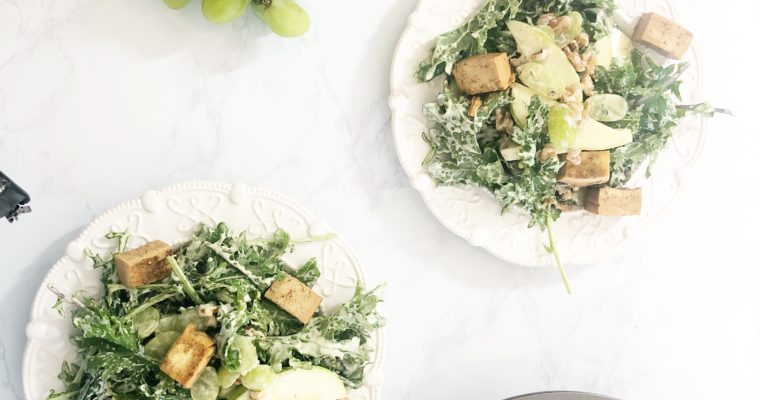
Dairy-free Caesar Salad
Yield: 2 servings
INGREDIENTS
½ cup canned chickpeas, rinsed and drained
1 teaspoon extra-virgin olive oil, plus extra
2 teaspoons curry powder
1 teaspoon ground coriander
1 teaspoon ground turmeric
1 teaspoon garlic powder
Salt and freshly ground black pepper, to taste
¼ cup sliced or whole almonds
1 tablespoon nutritional yeast
1 head romaine lettuce, leaves separated and coarsely chopped
1 avocado, halved, pitted, and sliced
DRESSING
1 tablespoon garlic hummus
1 tablespoon extra-virgin olive oil
4 cloves garlic, crushed
Juice of ½ lemon
1 teaspoon dried oregano
1. Preheat the oven to 425°F (220°C, or gas mark 7). Line 2 baking sheets with parchment paper and set aside.
2. In a medium mixing bowl, combine the chickpeas, olive oil, curry powder, coriander, turmeric, garlic powder, salt, and pepper and toss until the chickpeas are thoroughly coated. Transfer the mixture to one of the prepared baking sheets and roast for 10 minutes, stirring occasionally, until they start to brown.
3. Meanwhile, combine the almonds and nutritional yeast in a small bowl and toss until the almonds are thoroughly coated. (Add a teensy bit of olive oil to help it stick, if necessary.) Spread on the second prepared baking sheet. Roast in the oven for 7 to 9 minutes, or until lightly browned.
4. To make the dressing, combine all the ingredients in a small bowl and whisk until creamy. Season with salt and pepper.
5. Put the chopped lettuce in a salad bowl, add the dressing, and toss lightly. Top with the roasted almonds and chickpeas and sliced avocado. Serve.
.
.
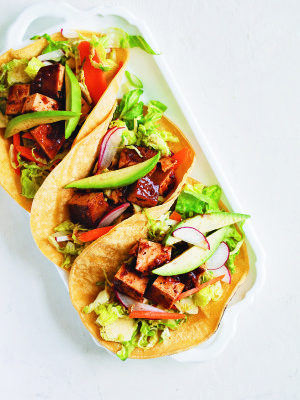
BBQ Tempeh Tacos
Yield: 4 tacos
INGREDIENTS
½ cup chopped Brussels sprouts
1 tablespoon Dijon mustard or horseradish
½ teaspoon garlic powder
½ teaspoon onion powder
Salt and freshly ground black pepper, to taste
Coconut oil cooking spray, for greasing
4 to 6 slices (¼ inch, or 6 mm, thick) tempeh or extra-firm tofu, cut into bite-sized pieces (you can substitute with black beans)
3 tablespoons organic barbecue sauce or garlic teriyaki sauce
4 flour tortillas (or corn for gluten-free)
2 romaine lettuce leaves, shredded
1 medium carrot, shredded
1 avocado, halved, pitted, and sliced
1 shallot, thinly sliced
1. In a medium bowl, combine the Brussels sprouts, Dijon or horseradish, garlic powder, onion powder, and a little salt and pepper and mix well until the Brussels sprouts are thoroughly coated.
2. Spray a little cooking spray on a medium frying pan and gently sauté the Brussels sprouts for 5 to 7 minutes, or until lightly browned. Set aside.
3. Heat the tempeh or tofu in a nonstick frying pan over medium heat and add the barbecue or garlic teriyaki sauce. Stir for 5 minutes, or until heated through and slightly crisp.
4. Place a tortilla in a dry frying pan over medium heat and cook for about 45 seconds on each side, until warm and lightly brown. Repeat with the remaining tortillas.
5. Place the lettuce in the center of a tortilla, and then add the carrots, Brussels sprouts, and tempeh or tofu. Top with slices of avocado and shallots, and then wrap closed.
.
.
.
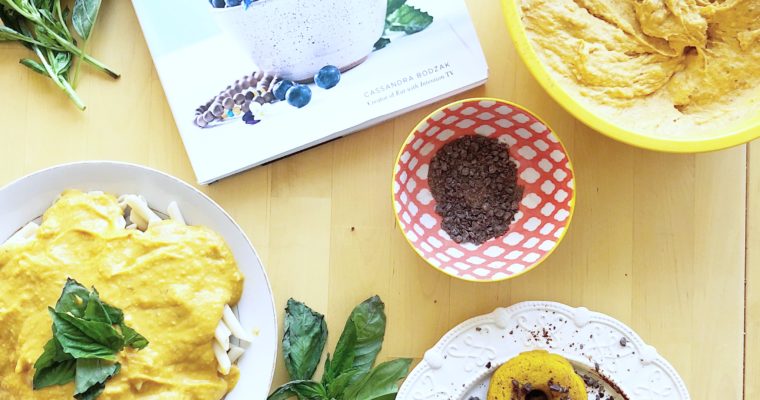
The Ultimate Veggie Burger + Avocado Fries
Yield: 12 burgers
INGREDIENTS
FLAX “EGG”
1 tablespoon (9 g) flaxseed meal
3 tablespoons (45 ml) water
BURGERS
Olive oil cooking spray, for greasing
1 bulb garlic, cloves separated and peeled
1 cup (164 g) cooked chickpeas
½ cup (35 g) cremini mushrooms
1⁄3 cup (80 g) Dijon mustard
1 tablespoon (15 ml) extra-virgin olive oil
2 teaspoons dried oregano
1 teaspoon ground turmeric
1 teaspoon onion powder
1 teaspoon salt
½ teaspoon black pepper
1 cup (200 g) cooked green lentils
1 cup (186 g) cooked quinoa (or “super grain”
blend of quinoa, millet, and buckwheat)
½ cup (56 g) quinoa flour
12 gluten-free rolls, to serve
Baby kale, to serve
Sliced red onions, to serve
.
.
.
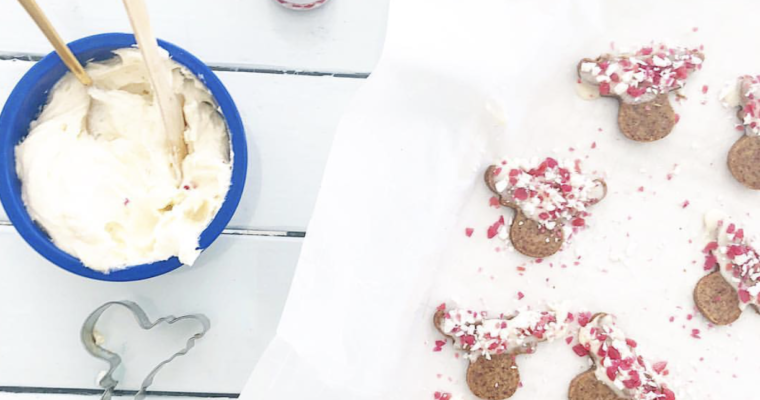
Double Chocolate Cupcakes
Yield: 12 cupcakes
CUPCAKES
2 cups (480 ml) unsweetened chocolate
almond milk
2 teaspoons apple cider vinegar
2 cups (224 g) quinoa flour
¾ cup (65 g) unsweetened cocoa powder
½ cup (77 g) date sugar
2 teaspoons baking powder
2 teaspoons baking soda
1 teaspoon salt
½ cup (100 g) melted raw extra-virgin coconut oil
½ cup (120 ml) maple syrup
½ cup (122 g) unsweetened applesauce
1 tablespoon (15 ml) vanilla extract
1 teaspoon almond extract (optional)
ICING
½ cup (128 g) sweet potato purée
¼ cup (64 g) cashew butter
¼ cup (30 g) carob powder
3 tablespoons (29 g) date sugar
4 ounces (113 g) vegan sugar-free chocolate chips
2 tablespoons (28 g) raw extra-virgin coconut oil
10 to 15 drops vanilla stevia
Pinch of salt
1.Preheat your oven to 375°F (190°C, or gas mark 5) and line a 12-cup muffin pan with paper baking cups.
2. To make the cupcakes, combine the chocolate almond milk and apple cider vinegar in a large measuring cup, stir, and set aside to curdle.
3. Meanwhile, combine all the dry ingredients together in a stand mixer or medium mixing bowl and mix well until the mixture is clump-free.
4. Pour in the coconut oil, maple syrup, applesauce, and extracts. Add the curdled chocolate almond milk and mix at medium- low speed (or with your hand) until the ingredients are thoroughly combined. Using an ice-cream scooper or tablespoon, fill each cup three-quarters of the way with batter. Bake for 15 to 17 minutes, or until a toothpick inserted into the center of a cupcake comes out clean. Set aside to cool.
5. To make the icing, combine the sweet potato purée, cashew butter, carob powder, and date sugar in a stand mixer, blender, or food processor and mix. Set aside.
6. Fill a medium saucepan halfway with water and bring to a boil. Place the chocolate chips and coconut oil in a separate smaller saucepan, place pan in the hot water, and heat, stirring continuously for 3 to 5 minutes, or until most of the chocolate has melted. Pour the chocolate into a mixing bowl with the mixture from step 5, add the vanilla stevia and salt, and mix thoroughly. Put the bowl in the refrigerator and chill for 30 to 60 minutes.
7. Mix the icing on high speed for a few minutes until thick and creamy. Ice the cupcakes immediately and serve!